It’s no secret that the buying process is changing, and with technology on the rise, online research is becoming increasingly important to buyers before they make a purchase. That’s why, if you’re listing an RV, taking high-quality photos is crucial to get more eyes on your listing. In fact, on RV Trader, listings with pictures generate 2.4X higher search result impressions, 6.5X higher click-through rates, and 15.8X higher vehicle detail page-views than listings without photos.
Here are our eight tips for taking RV pictures for your inventory listings:
1. Make it Shine
We know cleaning an RV can take time depending on the size, but a deep cleaning can have the potential to make or break a sale. It’s important to know that buyers want to see their potential unit in tip-top shape not just before making a purchase, but even when coming to see it in person. You’ll want to make sure the outside of the unit is washed and that the inside of the unit has had a full detailing. Don’t forget simple things like making the beds, decluttering, wiping down counters, etc.
2. Use the Right Camera
Consumers are likely to move along to the next listing if your photos are grainy or blurry. So our question to you is, are you using a high-quality camera to take your listing photos? You’ll want to make sure that you have a fairly newer camera to ensure that your photos are crystal clear. Keep in mind, most smartphones have incredible cameras and can be great options for taking photos. If you want to take your photos to the next level, consider buying an updated point-and-shoot camera. They are very simple to use and take extremely clear photos.
3. Shoot at the Right Time of Day
Ask any photographer and they’ll tell you, lighting is everything when it comes to taking photos. That’s why it’s so important to keep in mind the time of day you’re taking your listing photos. We recommend avoiding taking photos midday when the sun is at its brightest and lighting can come across as harsh. Shooting during the morning or late afternoon is ideal for capturing “warmer,” less washed out photos. While taking photos inside of the unit, highlight the natural light that the unit provides by opening up all of the windows while shooting. If there are darker areas inside, we suggest turning on the cabin lights as needed—avoid flash if at all possible.
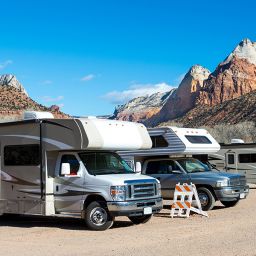
4. Keep in Mind Positioning and Location
When taking listing photos, you’ll want to keep in mind where you’ve positioned and parked the RV. Make sure that the unit you are trying to sell is the focal point of your photo. While inside the unit, stand in corners and point the camera outward while taking photos to make the unit feel larger and longer.
5. Take a Few Test Photos
It’s important to take your time while shooting your photos, as they are a crucial part of your listing. Take a few test photos of your unit to make sure the lighting is right, the images are clear, and that you are satisfied with the outcome. If you aren’t pleased with the photos you can take a step back and see what might need to change to enhance your photo (positioning, lighting, etc.).
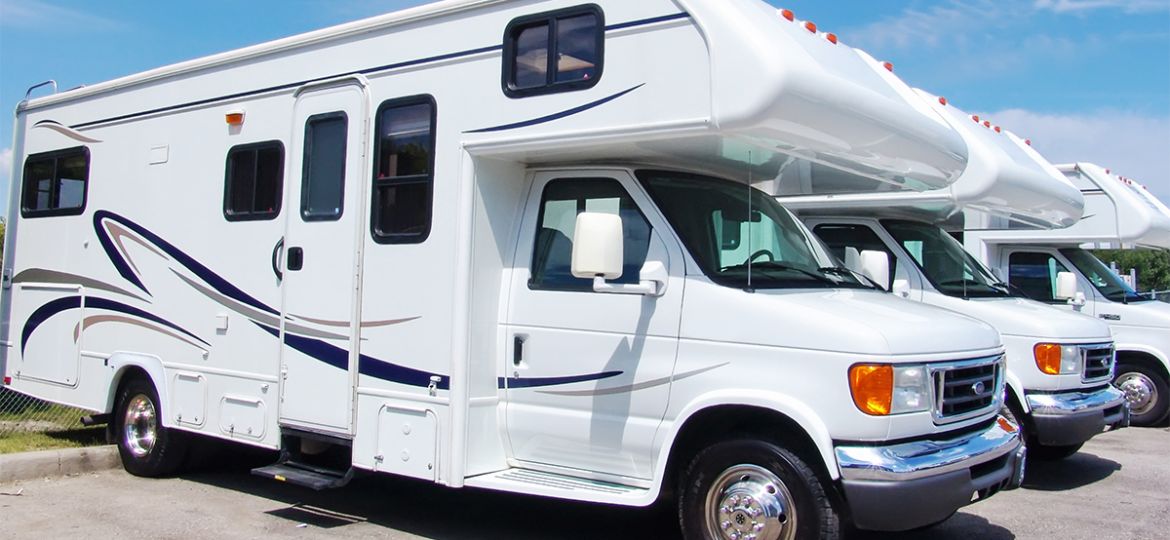
6. Have a Variety of Photos
Consumers want to see photos and LOTS of them. Potential buyers want to see the entirety of the RV even before coming to see the unit. They want to picture themselves in their new RV on the road to their next destination. To paint your buyer a clear picture, we suggest taking a few full shots of the outside of the unit (showing the whole RV) as well as detailed, close-up shots. When taking indoor shots, we suggest showing all aspects of the unit. We recommend having a full outdoor RV shot as your main listing photo to grab the customer’s attention right off the bat, then they can explore more photo options as desired.
7. Be Honest and Authentic
It’s extremely important to be honest and authentic with your customers and avoid misrepresenting the RV you are listing, especially if your dealership sells pre-owned inventory that has been previously used. Don’t hide the imperfections of the unit you are trying to sell. If the unit has a few dings or scratches, or if there’s a tear in upholstery, consumers deserve to know. It’s also a good idea to stay away from using stock photos of your unit – consumers appreciate original photos and want to see exactly what their potential unit looks like.
8. Highlight Special Features
Does the unit you’re selling have any special features like extra storage, great natural lighting, or new technology? Make sure you are highlighting them in both your listing photos and descriptions. As we mentioned earlier, consumers want to picture themselves in their new RV, and showing them unique features will have a higher chance of piquing their interest.
Bonus Tip: Add Video
Just like pictures, videos are powerful and persuasive advertising tools. If you are already taking photos, why not record some videos too? You can record a simple walk around video or even a demonstration of the RV in action.
Conclusion: Listings with photos have more buyers looking at them, clicking to view additional information, and contacting dealers to pursue a purchase. We hope that these eight tips have helped you realize taking listing photos doesn’t have to be difficult. Getting the right photo takes some practice, but it will be worth it in the end, trust us.
If you’re ready to snap some photos and sell your RV, we encourage you to list your unit on RV Trader’s nationwide online marketplace.